Every sharp, well-composed image begins with something that rarely appears in the frame: a stable mount. Whether you shoot handheld video, macro stills, or overhead flat lays, the mounting hardware between your camera and its support point decides how much control you actually have. A loose clamp, a wobbly ball head, or a mismatched thread quickly turns a promising session into a wrestling match. This guide walks working photographers, content creators, and small studio owners through the practical world of camera mounting accessories, from quick release plates to arca-compatible clamps, magic arms, and superclamps. You will learn how to match the right piece of gear to the shot you have in mind, how to avoid common compatibility traps, and how to build a modular kit that grows with your workflow. By the end, you will look at your rig as a system rather than a collection of parts, and every future upgrade will feel deliberate instead of accidental.
Understanding the Role of Mounting Hardware in Your Rig
Mounting hardware is the quiet workhorse of any camera build. It transfers the weight of your body, lens, and any attached accessories into whatever supports the rig, whether that is a tripod, a slider, a light stand, or a rigid table clamp. When photographers upgrade from entry-level to serious production work, the biggest single improvement often comes from investing in better camera mounting accessories rather than a new body. Solid hardware keeps horizons level, protects sensors from vibration, and eliminates the small drift that ruins long exposures and stop motion sequences.
Why Threads, Plates, and Standards Matter
Most cameras rely on two universal thread sizes: the 1/4 inch-20 socket on the body and the 3/8 inch-16 socket used on heavier plates and heads. Adapters bridge the two, but stacking too many can introduce play. Arca-Swiss dovetails and NATO rails add a second layer of compatibility that lets you switch between tripod heads, gimbals, and cages without unscrewing anything. Getting familiar with these standards early saves hours of frustration later, especially when you want to move a camera from studio to field within the same shoot day.
Building a Modular Support System
A modular approach beats a fixed setup because your shots change constantly. Overhead product work, waist-level lifestyle capture, and low-angle detail passes each need a different geometry, and no single tripod covers all three. Think in terms of a core and attachments: one strong base with an arca-compatible clamp, then a rotating cast of arms, mini ball heads, and clamps that snap in as needed.
Quick Release Plates and Clamps
Quick release plates stay on the camera; clamps live on your supports. Arca-style plates dominate professional workflows because they slide, lock, and self-align in one motion. Look for plates with anti-twist tabs and integrated bubble levels. On the clamp side, screw-knob designs feel more secure than lever clamps for heavy telephoto work, while lever clamps trim seconds off run-and-gun setups. Match the plate length to the base of your body plus battery grip so nothing overhangs.
Magic Arms, Superclamps, and Articulating Rigs
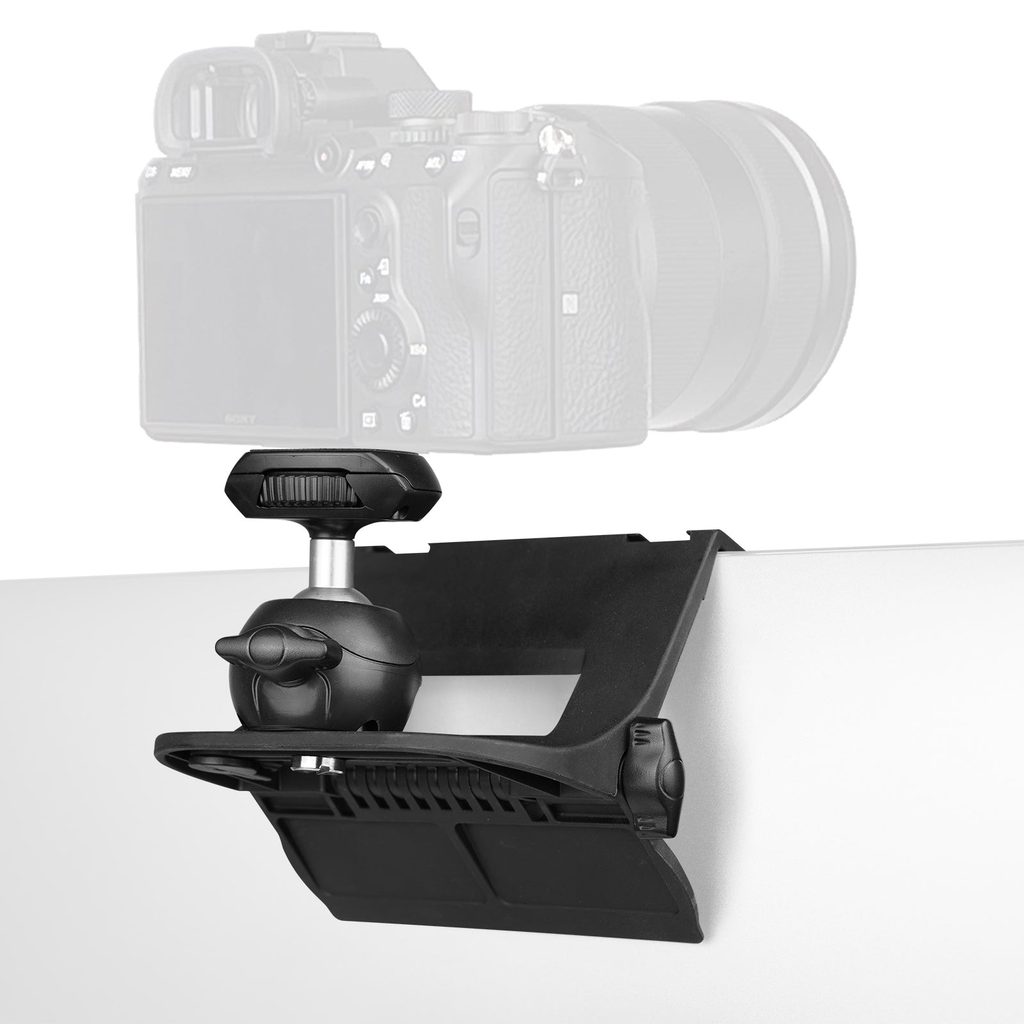
Magic arms with friction knuckles let you park a camera or monitor almost anywhere. Pair one with a superclamp and you can mount to pipes, shelves, or table edges up to about two inches thick. This combination shines for behind-the-scenes B cameras, top-down cooking shots, and product turntables where a tripod leg would land in frame. Keep two lengths in your kit, a short arm for tight interiors and a longer version for reaching over set walls.
Choosing Hardware for Specific Shooting Scenarios
Every mounting decision should trace back to the shot, not the specs sheet. A macro shooter chasing focus stacks needs different tools than a wedding videographer running gimbals all day. Start with the heaviest and longest lens you plan to use, then add a reasonable safety margin for gimbals, monitors, or microphones you might attach later.
Studio and Product Photography
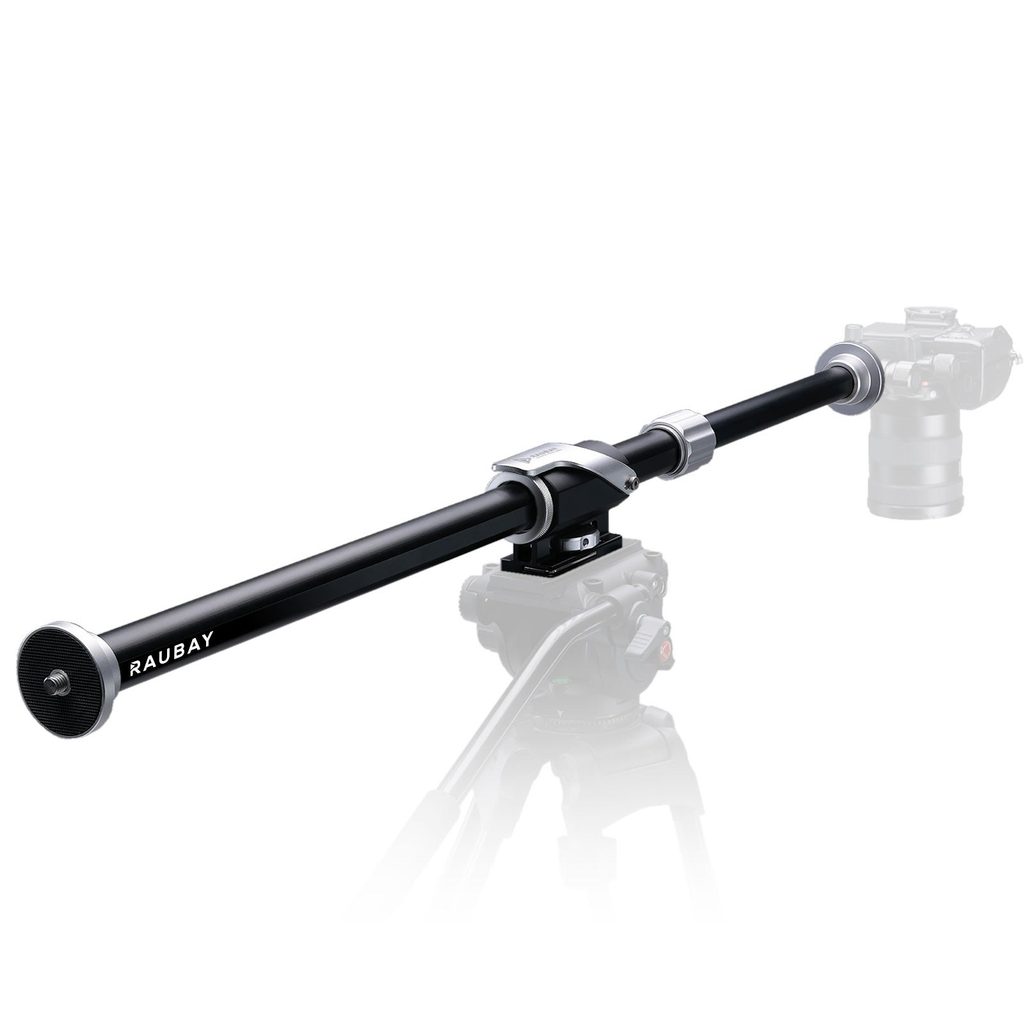
Studio work rewards precision over speed. Geared heads, arca clamps with fine adjustment, and rigid center columns let you nudge the camera in millimeters. For flat lay work, an overhead crossbar with a counterweight prevents drift, and a laser level checks parallelism to the surface. Products that reflect, such as glassware and jewelry, expose every micro vibration, so mount rigidity matters more than ultimate load rating.
Field, Travel, and Content Creation
Field shooters need mounts that survive being packed, unpacked, and re-tightened dozens of times a week. Look for stainless steel screws, aluminum bodies with anodized coatings, and rubber gaskets on any ball head. Compact clamps that grip car windows, backpack straps, or bike handlebars open up angles a tripod cannot reach. Content creators juggling phone, camera, and light should invest in cold shoe extenders and cheese plates that consolidate three items onto one arm.
Care, Maintenance, and Common Mistakes
Even the best hardware fails if you ignore it. Grit inside a ball head causes stiction that ruins pans, and cross-threaded screws chew up expensive plates. Wipe threads clean before each mounting cycle, check torque on any load-bearing screw weekly, and store clamps loosened rather than fully cinched to protect the springs. Avoid the tempting habit of hanging your camera by the strap while adjusting a clamp; one slipped grip is all it takes to bend a lens mount. Keep a small pouch of spare screws, hex keys, and adapters in your bag, because losing a single 1/4 inch bolt can end a shoot faster than a dead battery. Brands that focus on this category, such as Raubay, tend to publish clear compatibility charts, which makes replacement parts easier to source when something eventually wears out.
Planning Your Next Upgrade Path
Rather than buying random pieces, sketch out the shots you actually take over a typical month. If overhead work appears often, prioritize a solid horizontal arm and counterweight. If you travel constantly, weight and pack size outrank absolute load capacity. Write down every accessory you already own, note the mounting standard on each, and identify the weakest link in your chain. Nine times out of ten, upgrading that single component delivers more visible improvement than a new camera body.
Building Stability, One Mount at a Time
Great mounting hardware disappears from your conscious attention, letting you focus entirely on composition, light, and timing. Treat your rig as a modular system, learn the two or three thread standards that dominate the industry, and pick accessories that share a common language. Start with a rigid base and one high-quality clamp, then expand toward arms, plates, and specialty grips as your work demands. Careful maintenance stretches the lifetime of every piece and keeps expensive optics safe. With a thoughtfully assembled kit from a reliable maker like Raubay, you spend less time troubleshooting hardware and more time capturing the images you set out to make. The right mount is not the most exciting purchase you will make this year, but it is often the one that quietly transforms every photo that follows.
