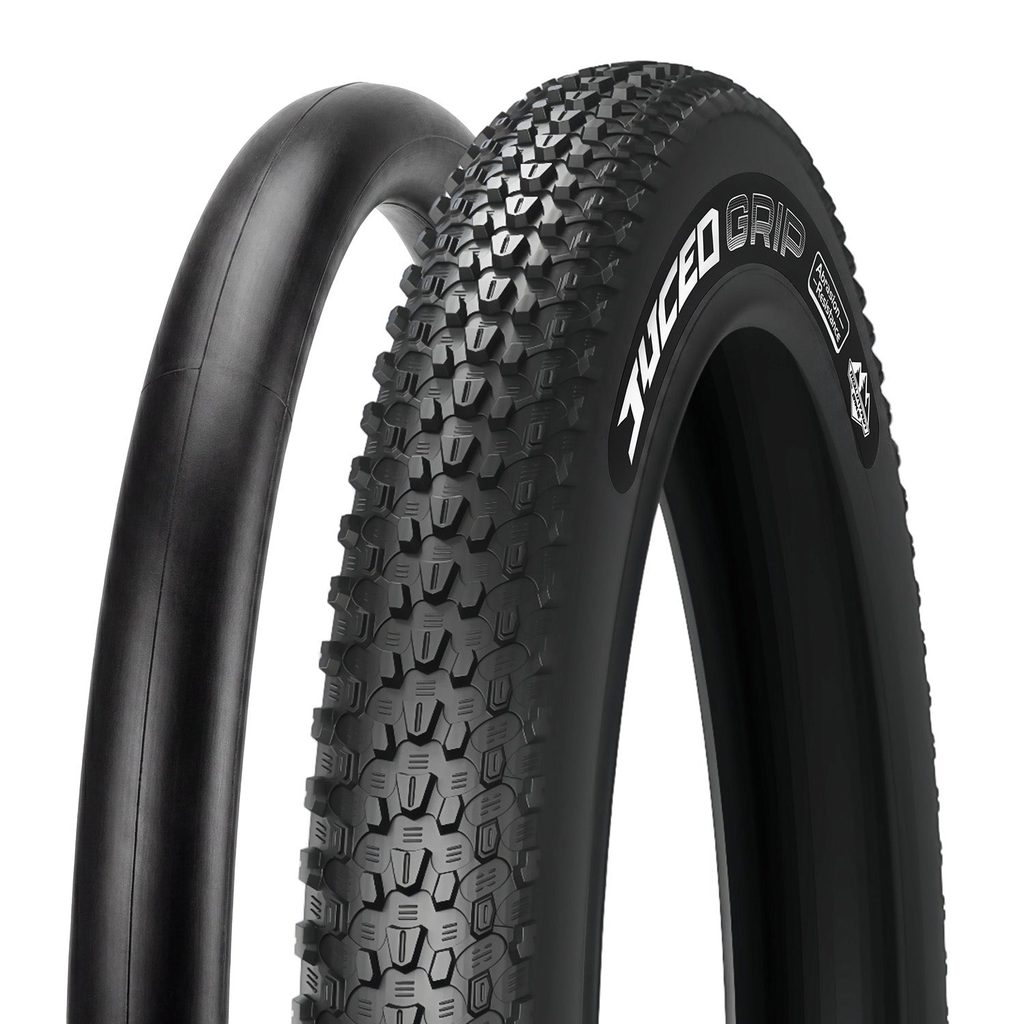
Every mountain biker eventually hits the same wall: the bike feels great until the trail changes and the tires can’t keep up. Grip disappears on loose gravel, rolling resistance spikes on hardpack, and a ride that should have been fun turns into a fight for control. The problem is rarely the bike itself. It’s almost always the tire, and more specifically, a mismatch between the tire’s design and the terrain being ridden. Riders who take the time to learn how tread patterns, widths, and casings interact with different surfaces end up spending less money on replacements and more time actually riding.
This guide breaks down what actually matters when choosing rubber for the trail, skipping the marketing noise and focusing on the decisions that affect traction, comfort, and durability. Whether you’re building your first setup or replacing worn-out tires before the next season, understanding these fundamentals will save you from costly trial and error.
Understanding Tread Patterns and Trail Conditions
Tread design is the first thing to evaluate, and it tells you almost everything about where a tire performs best. Closely spaced knobs with minimal gaps roll fast on hardpack and gravel because there’s less rubber deforming under load, but that same design turns into a liability the moment mud enters the picture. Widely spaced, tall knobs dig into soft ground and clear debris as the wheel spins, which is exactly what you want in wet or loose conditions but comes at the cost of extra rolling resistance on firmer surfaces.
Side knobs deserve just as much attention as the center tread. These are the lugs that engage when you lean into a corner, and undersized or poorly angled side knobs are a common reason riders lose the front end on turns that should have been easy. If you’re spending a lot of time on flowing singletrack with berms, look for a tire with reinforced, well-supported side knobs rather than just a tall center tread.
Reading Rubber Compounds
Compound choice affects grip and wear at the same time, and the two usually trade off against each other. Softer rubber compounds grip rock and roots noticeably better, especially in the wet, but they also wear down faster and can feel sluggish on long fire road climbs. Harder compounds last longer and roll more efficiently, which suits riders who spend more time on mixed terrain than technical descents. Many tires now use dual or triple compound construction, with a firmer base for durability and a softer layer on the side knobs for cornering grip, giving you a reasonable middle ground without forcing a hard choice.
Matching Tire Width to Your Riding Style
Width changes how a tire feels far more than most riders expect, and it’s one of the easiest specs to get wrong when shopping online.
Wide Tires for Stability
Wider tires, generally anything above 2.4 inches, spread your weight over a larger contact patch. That means more grip at lower pressures, better cushioning over chatter, and a more forgiving ride when you’re picking lines through rock gardens. The tradeoff is weight and rolling resistance, since a wider tire simply has more material to move. For aggressive trail and enduro riding where control matters more than speed, the added stability is usually worth the extra grams.
Narrower Tires for Speed
Narrower tires in the 2.1 to 2.3 inch range accelerate quicker and feel noticeably livelier on cross-country style trails. They also fit more easily on lighter rims designed for efficiency rather than durability. The narrower profile does mean less traction margin when things get loose, so riders who mix in technical descents should be honest with themselves about how much of their riding actually calls for speed versus control.
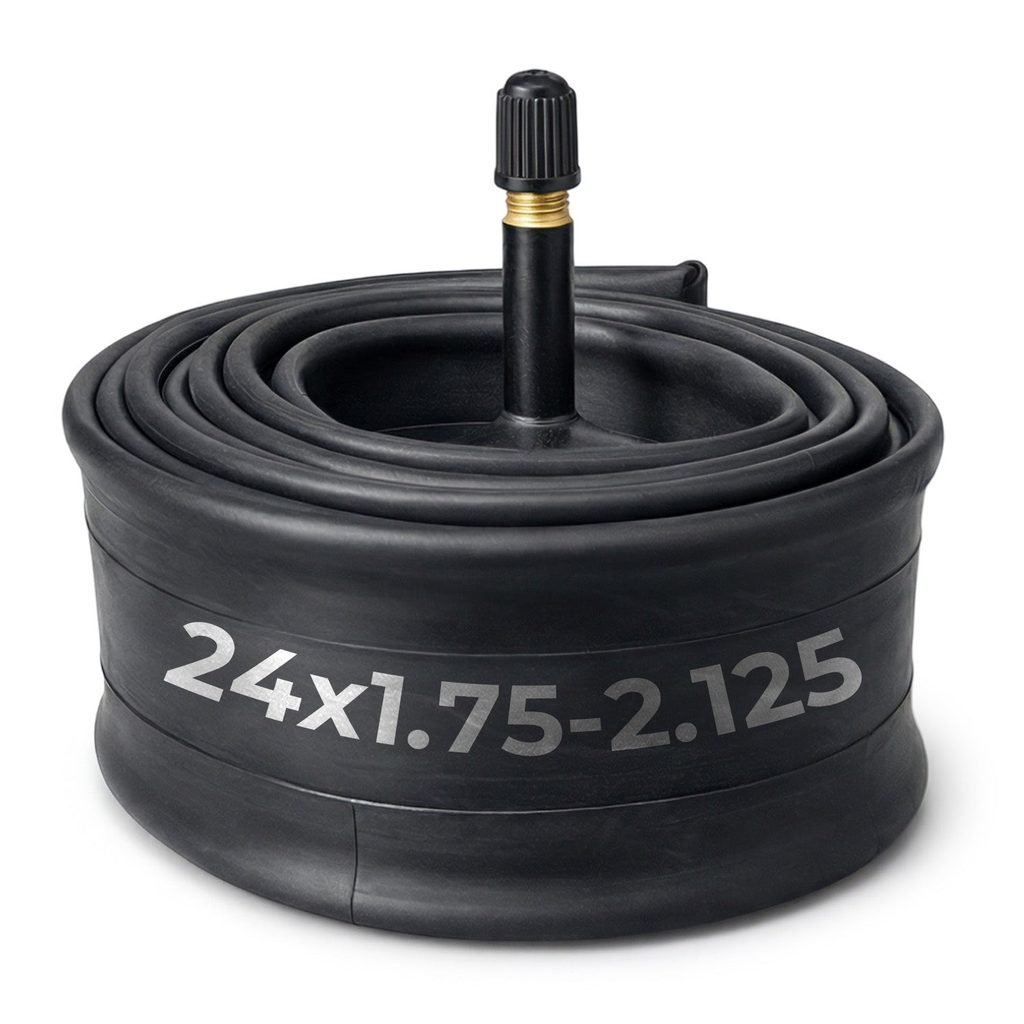
A dependable starting point is browsing a well organized mountain bike tire lineup that groups options by width and terrain, since it makes side-by-side comparison far easier than jumping between individual product pages.
Tubeless Setup and Puncture Resistance
Running tubeless has become close to standard for anyone who rides regularly off-road, and for good reason. Without a tube pinching against the rim, you can run lower pressures for extra grip without the constant risk of pinch flats. Sealant inside the tire also plugs small punctures on the fly, which means fewer trailside repairs from thorns or sharp rocks. Setting up tubeless does require a compatible rim, valve, and a bit of patience getting the initial seal, but most riders find the reliability gain is worth the setup time.
Sidewall protection matters just as much as the tread once you’re running lower pressures. Reinforced sidewalls, sometimes marketed as added casing layers, resist cuts and tears from rocks that a standard casing would puncture. If your local trails have a reputation for sharp, technical rock sections, a heavier duty casing is worth the small weight penalty. Brands like Juceo have leaned into this by offering casing options built specifically for rougher terrain, giving riders a way to dial in protection without switching tire lines entirely.
When to Replace Your Tires
Most riders wait too long to replace worn tires, mainly because the wear happens gradually and it’s hard to notice day to day. A clear sign is flattened center knobs that no longer have defined edges, since that’s what provides braking traction on straight sections. Cracking rubber, especially around the sidewalls, is another indicator that the compound has aged past its useful life regardless of remaining tread depth. Finally, if you’re patching the same tire more than once or twice a season, the cost of your time and sealant likely outweighs the price of a fresh set.
Choosing Tires That Match Your Trail
Picking the right mountain bike tire comes down to being honest about where and how you actually ride, rather than chasing whatever spec looks impressive on paper. Match your tread to your typical trail conditions, choose a width that fits your balance of speed and control, and don’t underestimate the value of tubeless setup and adequate sidewall protection. Small adjustments in these areas often make a bigger difference to your riding experience than a full bike upgrade would. Take stock of your last few rides, note where the tires struggled, and use that as your starting point the next time you’re shopping for a replacement set.
