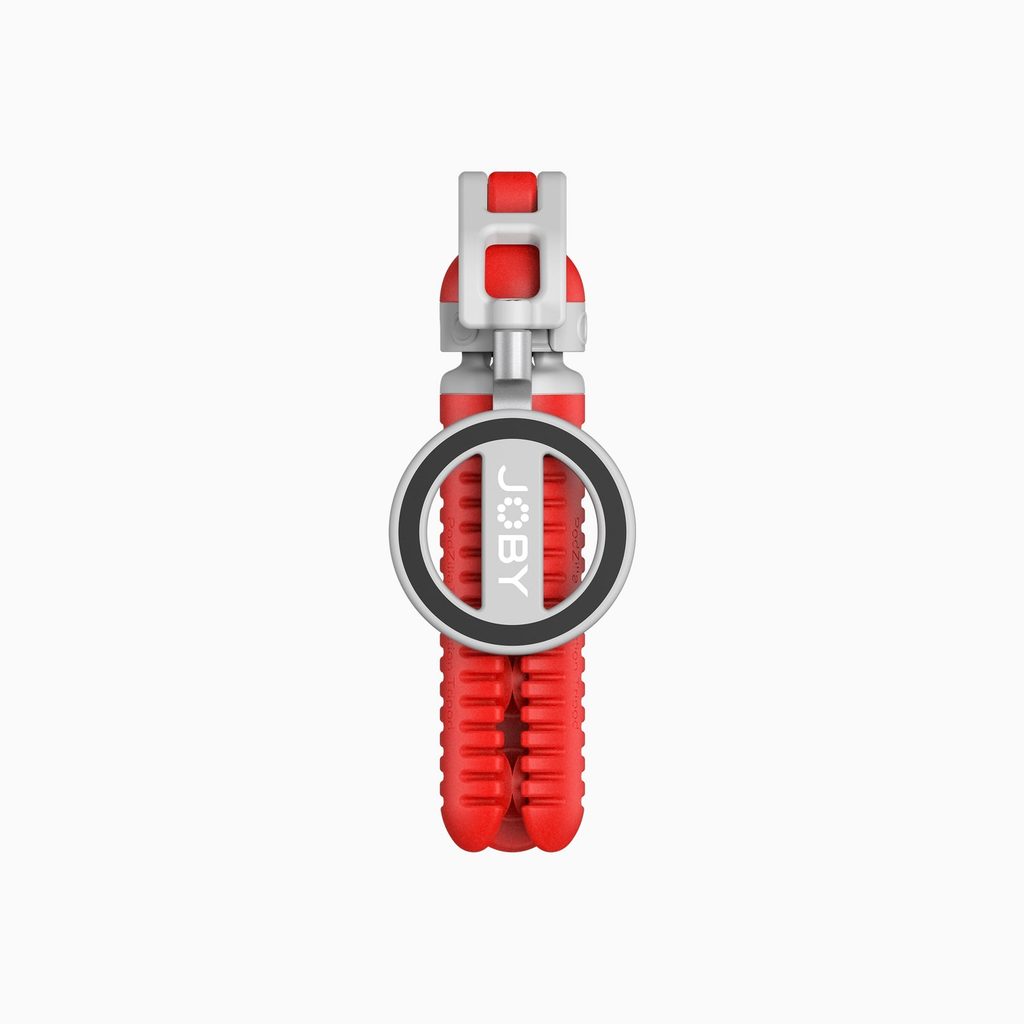
Some of the most interesting camera angles live on surfaces that a normal tripod simply cannot use. A car windshield, a kitchen backsplash, a bathroom mirror, the side of a glass display case, or the glossy hood of a vehicle all offer fresh perspectives, yet none of them give three rigid legs anything to stand on. That is where a suction-based mount changes the game. Instead of balancing your phone or compact camera on a crowded counter, you press the base against a smooth surface and let air pressure do the work.
This guide is written for people who need that kind of placement in their everyday work: food and cooking creators filming from the tile wall, drivers and road-trip vloggers capturing dash views, and small business owners recording product demos on glass shelves. We will cover how suction mounting actually holds, which surfaces cooperate, how to set up for a secure grip, and how to shape the flexible legs for angles that feel intentional rather than improvised. By the end, you should be able to mount with confidence and spend less time re-shooting wobbly footage.
Why Suction Mounting Solves Problems Regular Tripods Cannot
A traditional tripod needs a level floor and a clear footprint. In real shooting spaces, those two things are rarely available. Kitchens are full of cutting boards and bowls. Cars have no flat surface where the best view is. Retail displays leave little room between products. An Octo Suction Tripod sidesteps all of this by attaching directly to vertical or angled smooth surfaces, freeing up the workspace and opening viewpoints that would otherwise require a clamp, a second person, or a lot of tape.
The octopus-style design adds another layer of flexibility. Rather than locking you into one fixed position once the suction cup is attached, the bendable legs let you tilt, lift, and offset the camera from the mounting point. You can stick the base to a window and still aim the lens down toward a desk, or mount it on a tile wall and curve the camera over a stovetop for a clean overhead shot.
Who Benefits the Most
Cooking creators gain a stable overhead or side view without building a rig over the counter. Road-trip and driving vloggers get a secure point of view from inside the cabin. Product sellers can film close-ups on glass cases and mirrors without clutter in the frame. In each case, the shared need is the same: a steady camera in a place where legs on the ground are not an option.
Choosing the Right Surface Before You Press Down
Suction depends on creating a sealed pocket of low pressure between the cup and the surface. That only works when air cannot sneak back in. The best results come from surfaces that are smooth, non-porous, and solid enough not to flex. Before you mount anything, run your fingertip across the spot. If you can feel texture, grain, or grout lines, the seal will likely fail over time.
Good candidates and poor candidates tend to fall into clear groups:
- Reliable: glass windows, windshields, mirrors, glazed ceramic tile, polished stone, glossy painted metal, and smooth acrylic.
- Risky: matte paint, textured plastic dashboards, sealed wood with visible grain, and tiles crossed by grout.
- Avoid: fabric, unsealed wood, brick, drywall, and any surface that is peeling or dusty.
Temperature also matters. Very cold glass can stiffen the cup, while a sun-baked windshield can soften it. If you are shooting in extreme conditions, check the grip more often and consider a short test run before recording anything important.
Step-by-Step Setup for a Secure Grip
Most suction failures come from rushed setup rather than weak equipment. A few extra seconds of preparation make a noticeable difference in how long the mount holds.
Prepare the Surface and the Cup
Wipe the mounting area with a lint-free cloth and a little glass cleaner or diluted isopropyl alcohol, then let it dry completely. Do the same with the underside of the suction cup, since skin oils and dust collect there between uses. A clean cup on a clean surface is the single biggest factor in a lasting hold.
Attach, Lock, and Test
Center the cup on your chosen spot and press it flat with your palm so air escapes evenly from the edges. Engage the locking mechanism while maintaining pressure. Then, before attaching your phone or camera, give the base a firm tug in several directions. If it shifts at all, remove it, clean again, and reposition. Once it passes the tug test, mount your device and give it one more gentle check with the weight attached.
When the Seal Keeps Releasing
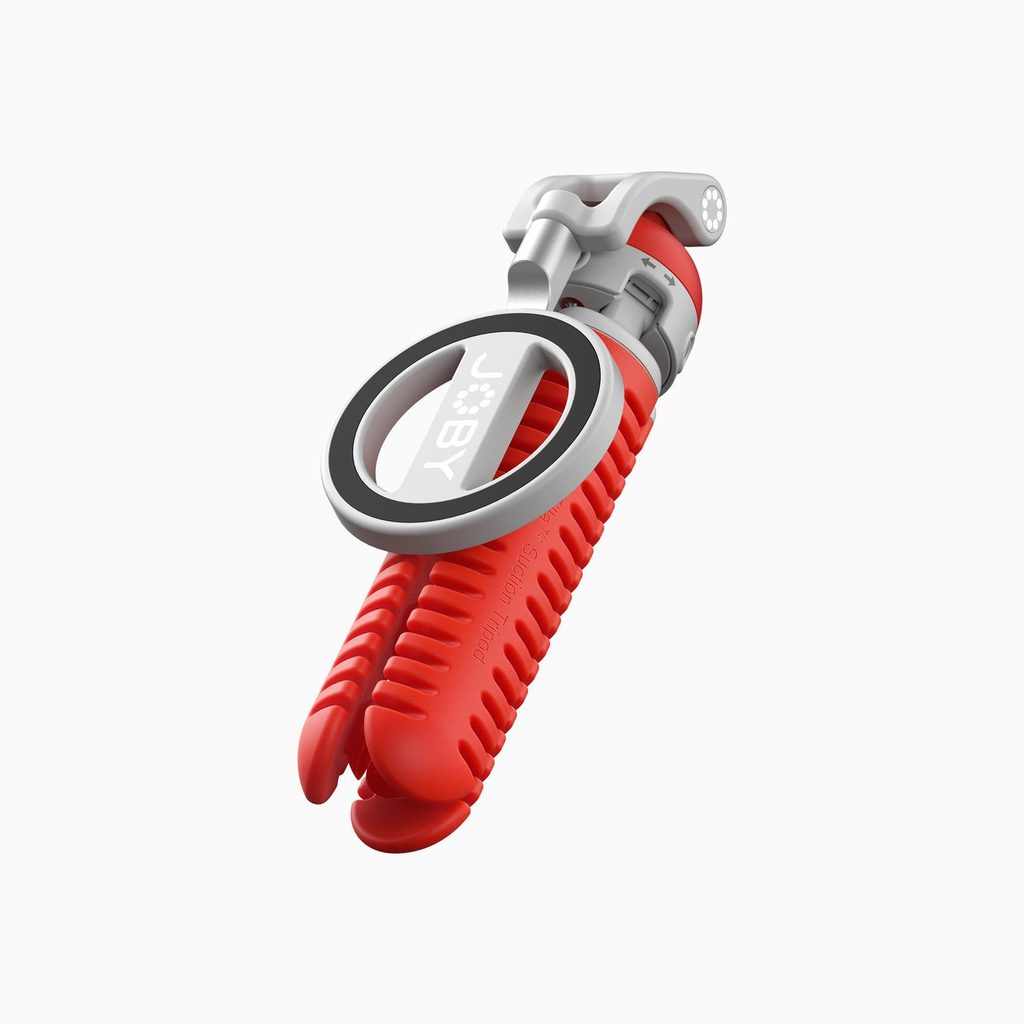
If the mount repeatedly loosens, work through the likely causes in order. First, re-clean both the cup and surface, since a thin film of residue is the most common culprit. Next, check the surface itself for hairline texture or curvature that the cup cannot fully cover. Then inspect the cup edge for dust, lint, or small nicks. A tiny drop of water around the rim can help on slightly imperfect glass, but dry it off if it does not improve the hold. If none of these help, choose a different mounting spot.
Shaping the Flexible Legs for Better Framing
With the base secured, the legs become your positioning arm. Think of them less as support and more as a way to place the lens exactly where the shot needs it. Bend the legs gradually rather than in one sharp motion, and keep the camera’s center of gravity as close to the suction point as the angle allows. The farther you extend the device away from the base, the more leverage it puts on the seal.
For overhead food shots, mount high on the backsplash and curve the legs outward and down so the lens looks straight at the cutting board. For in-car footage, place the cup low on the windshield or side window and angle the camera slightly inward to include both the driver and the road. For product close-ups, mount on the glass shelf edge and bring the lens in low, level with the item, which usually looks more premium than a top-down view.
Take a quick test clip after framing. Watch it back and look for subtle vibration, especially in vehicles. If you see shake, shorten the reach of the legs or wrap one leg around a nearby fixed point for extra stability.
Keeping Your Setup Safe in Real-World Conditions
Even a well-mounted suction base deserves a backup plan when your gear matters. When filming over hard floors or countertops, keep a soft towel underneath the shot area in case of a slip. In vehicles, follow local rules about windshield mounting and never place the camera where it blocks your view of the road. Stop and check the seal whenever you take a break, because temperature shifts during a long drive can gradually loosen the grip.
Longer sessions benefit from periodic re-seating. Every thirty to sixty minutes, release the lock, reclean if needed, and press the cup back down. It takes seconds and prevents the slow creep that can end a recording unexpectedly.
Caring for the Suction Cup So It Lasts
The cup is the part that does the hardest work, so a little care goes a long way. Rinse it with lukewarm water and mild soap when it looks cloudy or feels less tacky, then let it air dry face up. Avoid harsh solvents, which can dry out the material. Store the mount with the cup protected or facing upward so the edge does not deform under weight in a bag.
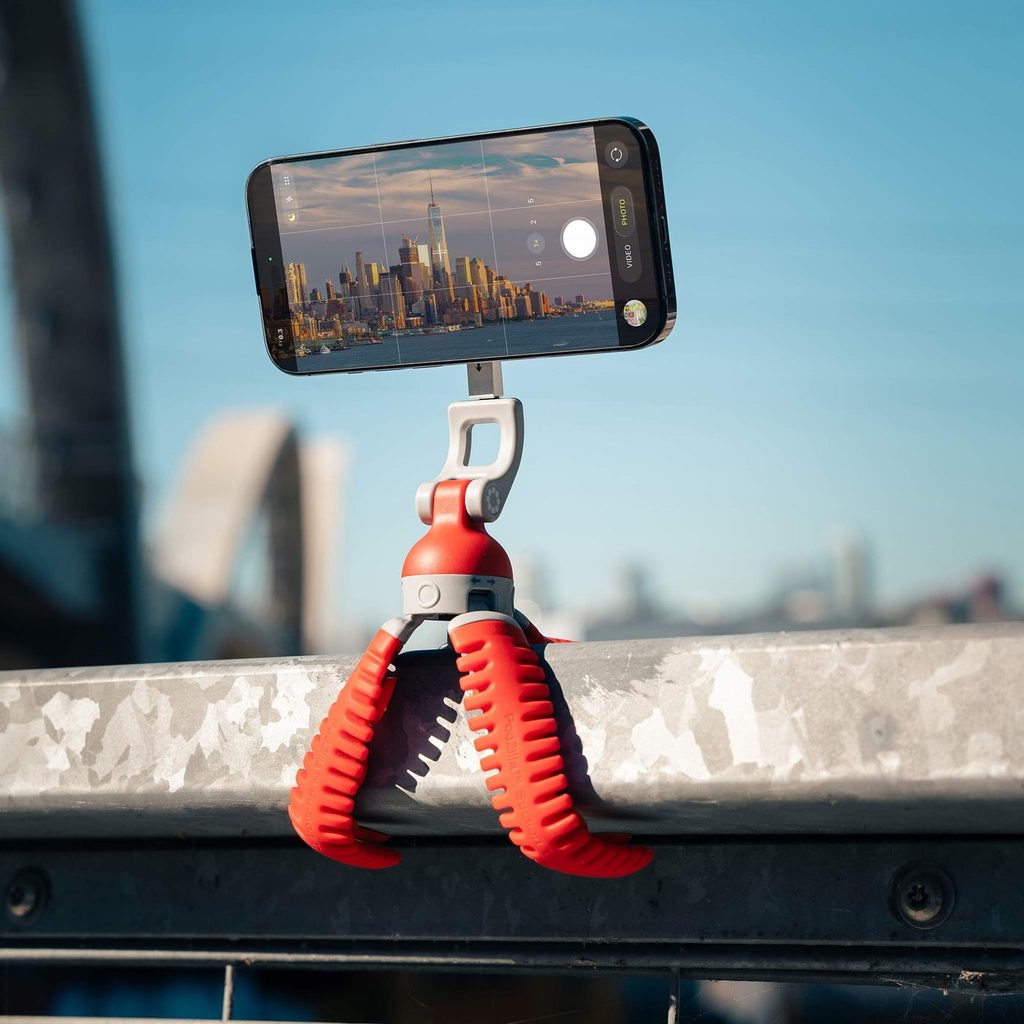
JOBY builds its Podzilla line around the idea that flexible support should adapt to your space, and treating the suction cup well keeps that adaptability reliable for many shoots. If the cup ever develops a nick or permanent warp along its edge, it will struggle to seal, so inspect it occasionally, especially before important projects.
Making Smooth Surfaces Work for Your Camera
Suction mounting turns glass, tile, and polished surfaces into dependable camera positions. The results come down to a handful of habits: choose a smooth, non-porous spot, clean both the surface and the cup, press and lock with even pressure, and test the hold before trusting it with your device. From there, the flexible legs let you shape angles that are hard to achieve any other way, whether that is a clean overhead view of a recipe, a steady cabin shot on a road trip, or a crisp eye-level look at a product on display.
Treat the seal as something to check rather than assume, especially during long sessions or temperature swings, and give the cup basic care between uses. With that routine in place, a suction tripod becomes one of the most versatile tools in a creator’s kit, letting you film where the story is instead of where the floor happens to be flat.
